| | Annotate |
| Processor | STM32F412 |
| Compass | RM3100 |
| Barometer | ICP-20100 |
| Rgb Drive | MCU direct drive |
| Buzzer | Passive buzzer |
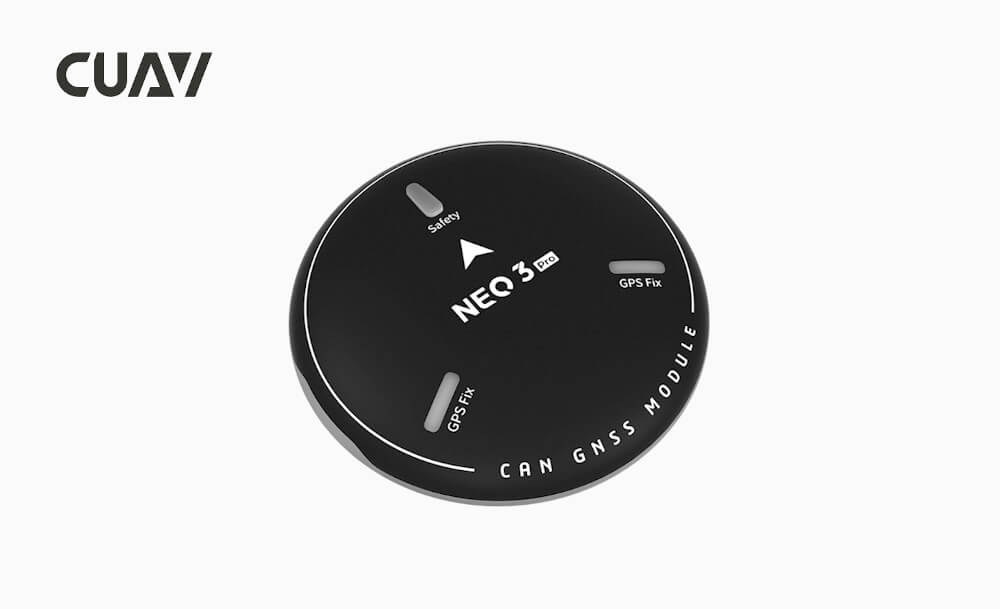
| Safety switch | Physical button |
| GNSS receiver | UBLOX NEO M9N |
| Number of concurrent GNSS | 4(Beidou、Galileo、 GLONASS、 GPS) |
| Frequency band | GPS: L1C/A
GLONASS: L10F
Beidou: B1I
Galileo: E1B/C |
| GNSS Augmentation System | SBAS: WAAS, EGNOS, MSAS
QZSS:L1s(SAIF),
Other: RTCM3.3 |
| Horizontal accuracy | 2.0M |
| Speed accuracy | 0.05M/S |
| Nav. update rate | 25Hz(Max) |
| Number of Satellites | 32+ |
| Acquisition | Cold start:24S
Hot start:2S
Aided start:2s |
| Number of satellites(MAX) | 32+ |
| Sensitivity | Tracking and nav-167dBm
Cold start Hot star-148dBm
Reacquisition -160dBm |
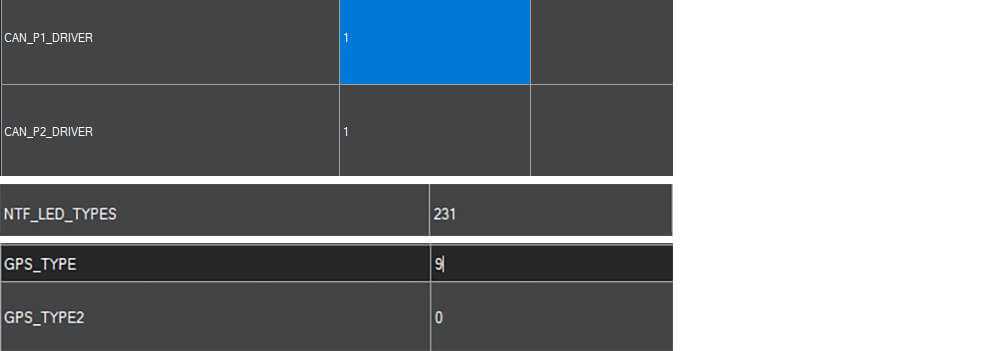
| Protocol | Dronecan |
| Wave filtering | SAW+LNA+SAW |
| Anti-Electromagnetic/radio frequency interference | EMI+RFI |
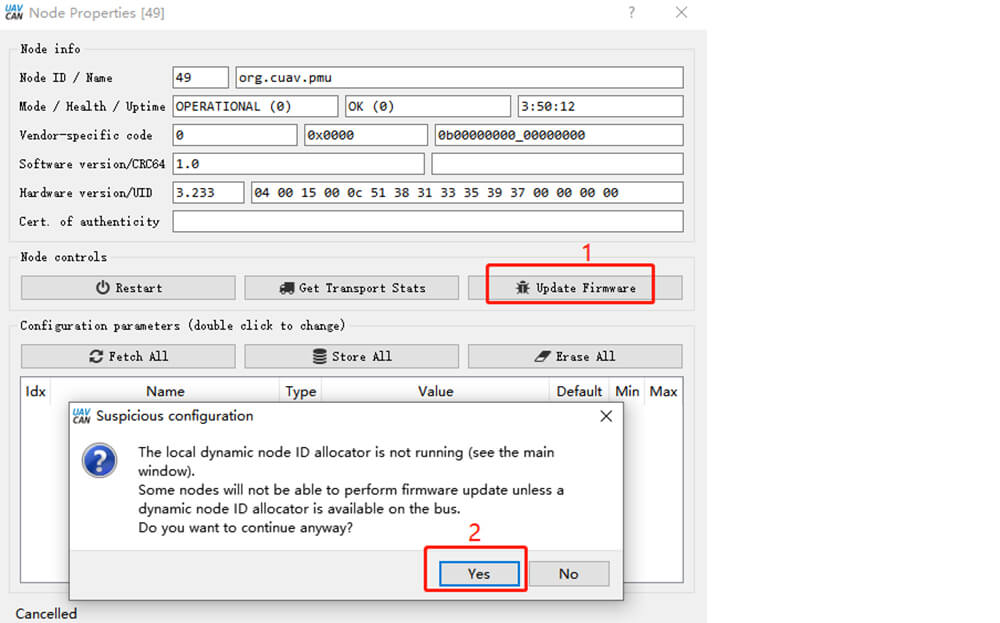
| Upgrade firmware | support |
| Supported flight controller | CUAV series, Pixahwk series |
| Port Type | GHR-04V-S |
| Input voltage | 4.7-5.2V |
| Operating temperature | -10~70℃ |
| Size | 60*60*16MM |
| Weight | 33g |